Romestead Weapons & Armor Tier List
Last updated: 2026-08-23
Gear in Romestead climbs a clear ladder — crafted material tiers you smith yourself, then named sets you pull off bosses. This guide ranks the full progression, breaks down which weapon type to actually use, covers the often-ignored armor and trinket slots, and tells you what to equip at each stage rather than just dumping a stat table on you.
Wooden → Flint → Copper → Bronze → Iron are the crafted tiers you climb by mining and smithing. Camillus is a distinct mid set, and the boss tiers — Feathered (Giant Owl) → Tectonic (Cyclops) → Flamen Volcanalis (volcanic) — are milestone rewards that mark your real power spikes.
On this page
What's the best weapon in Romestead?
Two honest answers, because "best" depends on what you mean:
- Best weapon type for most players: the spear. Spears (the Hasta line) have the longest reach of any melee weapon, which makes spacing forgiving — you hit enemies before they hit you. It's the safest default from the Flint Hasta all the way up.
- Best endgame weapon: the top tier you can craft or earn. Ride the ladder to Iron and the boss sets, topping out at the Flamen Volcanalis volcanic tier — the current strongest gear in Early Access.
- Best for safety: a ranged weapon. A Scroll (caster) or Bow keeps you out of melee entirely — and a bow is specifically the answer to the Great Phoenix, which resists magic and fire.
There's no single "best" because weapon type is a playstyle choice and every character can level every weapon skill. Pick the type that fits your build, then climb the tier ladder below. The full type-by-type breakdown is in the next section.
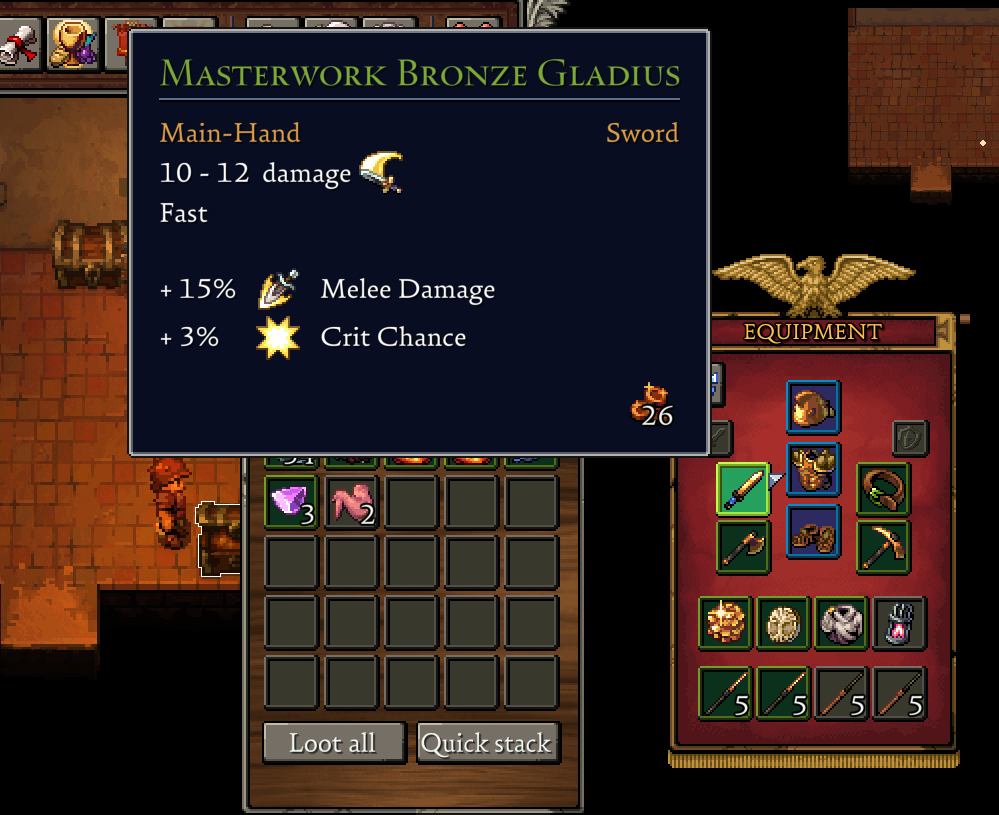
The full gear tier ladder
Both weapons and armor share the same material/tier names. From weakest to strongest:
| Tier | Source | Notes |
|---|---|---|
| Wooden | Starter crafts | Wooden Shield, Wooden Bow, Wooden Sandals, Wood Stick. What you scrape together hour one. |
| Flint | Day-one crafting | Flint Gladius, Flint Hasta, Flint Axe, Flint Pickaxe, Flint Arrow. Your first real kit — flint is found near water. |
| Copper | Desert mining | First metal tier; copper veins are in the Desert biome. A stepping stone to Bronze. |
| Bronze | Smithing (Tin + Copper) | Bronze Gladius, Bronze Hasta, Bronze Daggers, Bronze Sledgehammer, Bronze Shield, Bronze Arcuballista — your first serious tier. Needs a Level 2 blacksmith; full path in the Bronze guide. |
| Iron | Later smithing | The top crafted metal tier seen so far. |
| Camillus | Set (mid) | A distinct armor set (Headpiece, Robes, Sandals), shown with a "II" badge. Sits in the mid-game band. |
| Feathered | Boss: Giant Owl | Crafted from Guardian of Minerva drops (feathers, talons). Includes the Feathered Bow. Your first boss-tier set. |
| Tectonic | Boss: Cyclops | From the Cyclops (Granite Tooth). A clear power spike for the desert/volcanic push. |
| Flamen Volcanalis | Boss: volcanic | The volcanic-tier set — the current top end, tied to the endgame Volcanic biome bosses. |
Note on ordering The crafted tiers (Wooden→Iron) are firmly ordered. The boss sets are milestone rewards rather than strict stat steps — you build toward the Giant Owl with Bronze/Iron-level gear, and each boss set is best thought of as "the upgrade that gear-checks the next region." Exact defense and damage values are catalogued in the Items & Materials reference as we confirm them.
Which weapon type should you use?
Tier matters, but weapon class matters just as much — each has a feel, and they level as separate skills (which also feed your Favour Points). The main-hand options:
| Weapon | Feel | Best for |
|---|---|---|
| Spear (Hasta) | Fast, longest melee reach (e.g. Flint Hasta 4–5 dmg) | The most forgiving melee — reach means more hits, fewer deaths. Great default. |
| Sword (Gladius) | Fast, shorter reach (e.g. Flint Gladius 3–4 dmg) | Pairs with a shield offhand; solid all-rounder once you have a Bronze Gladius. The line runs Flint → Copper → Bronze → Iron Gladius. |
| Bow | Ranged; slow (e.g. Arquites Bow 5–8 dmg, Very slow, two-hand) | Softening targets before they close; kiting. Two-hand, so no shield. |
| Scroll | Ranged magic offhand | The Scholar's safety tool — damage at range while you learn dodge timing. |
| Dagger | Extremely fast, low per-hit (e.g. Satyr Daggers 2–3 dmg) | High attack speed/DPS up close; rewards aggressive play. |
| Axe | Doubles as a tool (Flint Axe +5 Axe Power) | Budget melee that also chops wood — efficient for Woodcutters. |
| Shield (offhand) | Blocks within an arc (Wooden Shield: 20 Block, 120°; Aegis: 50 Block, 120°) | Pair with a one-hand weapon; the Phalanx tank's anchor, especially in co-op. The Aegis is the standout — 2.5× the block for the same arc, and it petrifies on a perfect block. |
A spear main-hand (reach = survivability) or a scroll (pure ranged safety) carries the early game most comfortably. Add a shield once you want to tank hits. Whatever you choose, commit — weapon skills and their talent branch reward specialising over dabbling.
Armor: slots & the best sets
Armor fills three slots — head, chest, and feet (no leg or arm slots). Each tier offers a piece per slot, and your total Armor stat is the sum. The progression mirrors the ladder above:
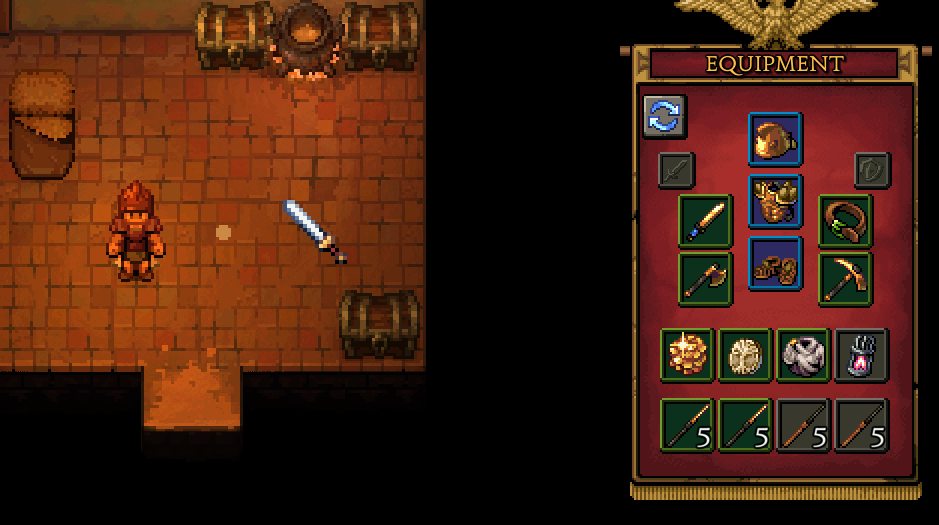
- Early: Wooden → Flint → Copper pieces as you can craft them.
- Mid: Bronze, then Iron; the Camillus set (Headpiece / Robes / Sandals) sits in this band.
- Boss sets: Feathered (Owl) → Tectonic (Cyclops) → Flamen Volcanalis (volcanic). These are your real defensive milestones — chase the next one before pushing into a new region.
Don't leave slots empty or mismatched while levelling — three filled pieces of the current tier beats one shiny boss piece and two wooden ones.
Trinkets (the slot people forget)
Romestead has a Trinket slot for passive stat bonuses, and it's easy to ignore because you don't start with one equipped. It's worth real value — examples:
- Guarding Birch Idol — +10% Healing Done, +1 Energy Regeneration, +1 Armor.
- Wrist Wraps — +1 Throwing Attack Power (the Lobber's starter).
Trinkets scale your survivability stats (Armor, Healing Done, Energy Regeneration) rather than raw weapon damage, so they pair well with any weapon choice. Keep an eye out for them as dungeon/encounter rewards and slot the best one you own.
What to equip at each stage
- Hour one: craft a Flint weapon (Hasta or Gladius), a Wooden Shield if you want defence, and Flint armor pieces as you can. Flint Arrows are cheap (1 stick + 1 shard = 25 arrows) if you run a bow.
- Pre-Giant Owl: push to Bronze gear before the fight — you build toward the Owl, not at it. See the Guardian of Minerva guide.
- After the Owl: craft the Feathered set and Feathered Bow from its drops; fill all three armor slots.
- Desert / Cyclops: Iron and the Tectonic set from the Cyclops; add a good trinket.
- Volcanic endgame: Flamen Volcanalis gear plus fire/poison-resist potions for the Volcanic biome and its bosses.
Common questions
What's the best weapon in Romestead?
For most players a spear (best reach, forgiving) or a scroll (ranged safety) is the strongest early choice; at the top end you want the highest tier you can craft or loot. Commit to one weapon class so its skill and talents level up.
What's the best armor?
The boss sets — Feathered → Tectonic → Flamen Volcanalis — are the defensive high points, with Bronze/Iron/Camillus bridging the gaps. Always keep all three slots (head/chest/feet) filled with your current tier.
How many armor slots are there?
Three: head, chest and feet. There are no separate leg or arm slots. A Trinket slot adds passive bonuses on top.
Do weapons or tools wear out?
No — gear and tools have no durability and never break. (That's also why Diana accepts regular tools at full quality.)