Romestead Build Order: Your Early Build Order
Last updated: 2026-07-20
Romestead doesn't tell you what to build or when. Only five buildings are available on day one: Altar, Workbench, House, Lumber Yard, and Insula. Almost everything else — Carpenter's Workshop, Blacksmith, Bakery, Farmstead, and most upgrade tiers — is locked behind quests. Here's the real sequence.
On this page
Principles before you place anything
- Compact, then expand. Tight first bases keep citizen walk times short. You can sprawl later.
- Build the Altar early. Many tech unlocks come from god quests — skipping the Altar stalls progression.
- Material Storage is day-one critical. Logs, stone, ore, and clay are carried items that cannot go in chests. They only fit in Material Storage. See our storage guide.
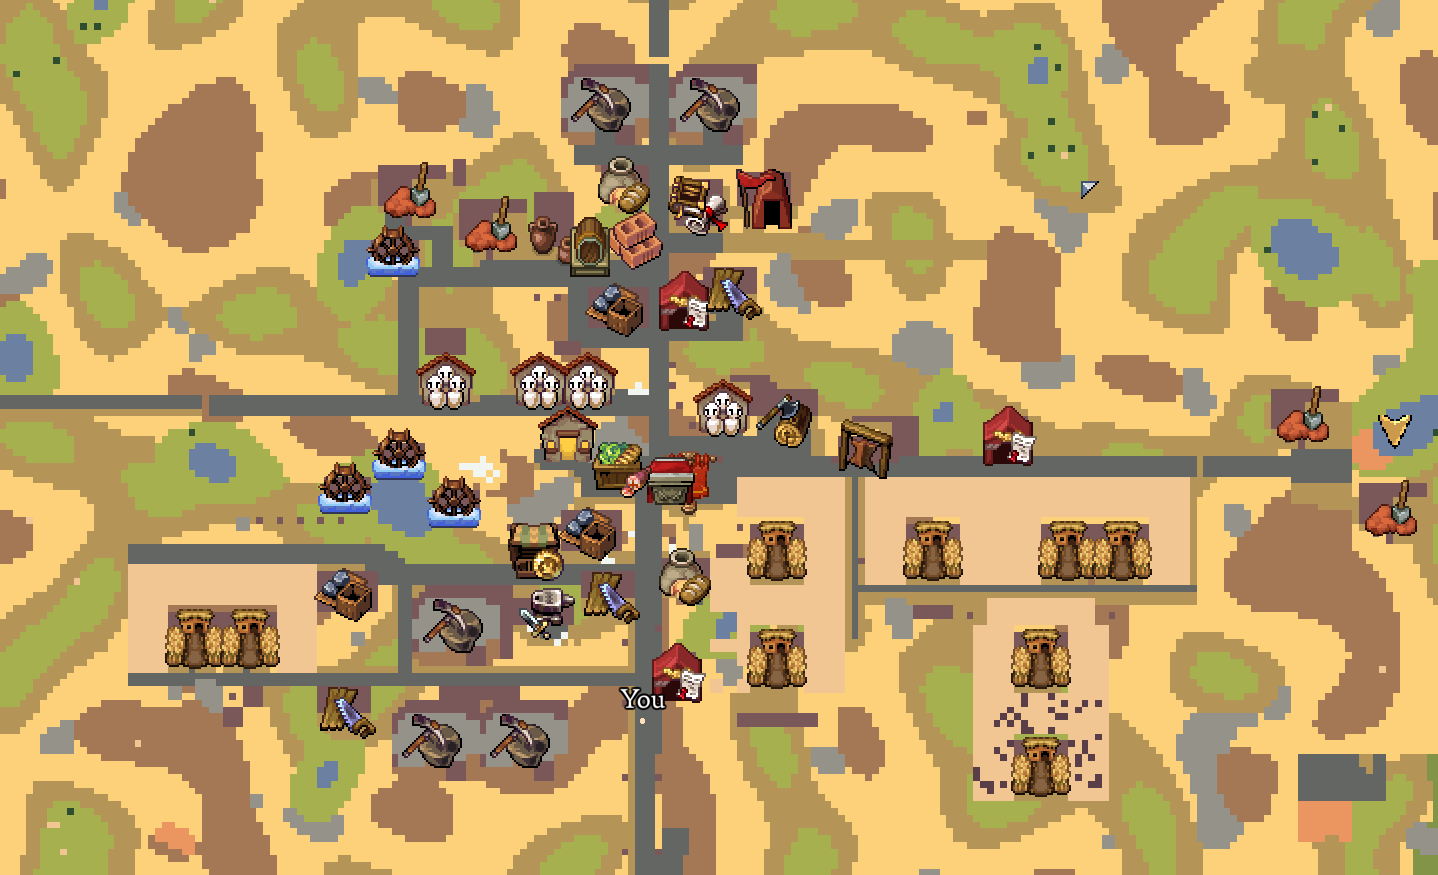
The pre-Owl build
You only have 5 building options. Use them all.
1. Workbench
Auto-built at spawn. This is your crafting and citizen-recruitment hub. Park it in the center of where your settlement will grow — ideally a central spot touching the Plains and a couple of other biomes (which starts with a good world seed).
2. House + bedroll
Houses are single-click placements — drop the house, place a bedroll inside, and press E on the bedroll to skip the night if you're underprepared. Survival comes before optimization.
3. Altar
Costs about 3 of one material. Place early — the moment you interact with it, the "The Giant Owl" quest appears and progression really starts.
Ceres's first quest ("Honoring the Soil") will also be available — she asks for 20 wheat to unlock the Farmstead. Full pantheon in our Gods guide.
4. Material Storage
Place this before any serious lumber/stone collection. Without it, your raw logs and stone have nowhere to go (chests reject them). Place adjacent to where the Lumber Yard will go — you'll be hauling logs between them constantly.
5. Lumber Yard
Assign a citizen and the Lumber Yard auto-produces logs into its 3-log internal buffer. Note: it doesn't actually cut down nearby trees — logs spawn from thin air at the building. What tree proximity does is speed up production: more trees nearby = faster log generation, but trees stay standing. The 3-log buffer cap is tiny; you'll need to manually haul logs to an adjacent Material Storage as it fills.
6. Farm Land + wheat seeds
Plow Farm Land tiles and plant wheat. You need 20 wheat for the Ceres "Honoring the Soil" quest. Biome restriction: wheat can only be planted in the Plains biome. Other crops have their own biome rules (Mint: Plains, Swamp, or Forest). Each seed tooltip lists valid biomes.
7. Insula
Adds 3 more population to the town. Good for growing your citizen pool while the rest of the economy is still locked behind the Owl.
The Giant Owl — the real progression gate
The "The Giant Owl" quest is the single most-important unlock in the early game. Killing the Owl and offering a Guardian's Eye on the altar unlocks:
- Carpenter's Workshop — required to upgrade every other building in your settlement
- Blacksmith — required for smelting and metal gear
- Material Storage - Level 2, Empty House - Level 2, Altar - Level 2 (Altar L2 enables teleport between L2 altars)
- Three Feathered armor pieces at the Leatherworker (Hood / Armor / Boots)
- Cooked Scorpion Meat and Feathered Effigy recipes
The quest is available immediately, but the fight is NOT feasible on day one — gear up first. Full strategy in our Guardian of Minerva boss guide.
Post-Owl expansion
- Build the Carpenter's Workshop. Critical — nothing else can be upgraded without it. The external workbench on the outside of the Workshop is the upgrade interaction point for every building in your settlement. Walk up, press E, scroll the camera around, select any building to upgrade.
- Build the Blacksmith. Required for smelting. Note: the Blacksmith needs fuel at its external furnace opening (wood, coal). Ore placed at the same external location converts to ingots in about 15 seconds. Players who don't know to fuel the external furnace will think the Blacksmith is broken.
- Build the Farmstead if you've finished Ceres's "Honoring the Soil." Real food infrastructure.
- Start upgrading. Upgrades are gated by resource cost, sometimes a god blessing, and sometimes a quest reward — but NOT by Building Appeal. (Appeal is a separate efficiency stat raised by decorations.) Full mechanic in our Building Upgrades guide.
- Push toward Bakery and Watermill via Ceres's later "Honoring the Craft" quest, which requires offering Bakery items and unlocks the Watermill.
Layout tips
- Workshops in a cluster. Crafting Bench, Workbench, and your future Blacksmith / Leatherworker / Carpenter benefit from adjacency — citizens with multiple jobs walk less.
- Shrine separate. The Shrine functions as a quest hub — you don't need it in the workshop cluster. Altar Level 2 reportedly unlocks fast travel.
- Wall the core, not the kingdom. A small walled core is defended much faster than a sprawling perimeter.
- Plan for upgrades, not just placement. Each building upgrade raises that building's max Job Level by 3 and unlocks new recipes there. Recruiting a second citizen for a maxed-out building is almost always worse than upgrading the building so your existing worker can keep growing. Full mechanic in our Building Upgrades guide.
What NOT to build early
- Carpenter's Workshop, Blacksmith, Bakery, Farmstead. These look obvious but they're NOT day-one available — they unlock via quests (mostly the Giant Owl). Don't plan around them as your starting kit.
- Pottery. Locked behind the "Sanguis Celeste" Ceres quest. See olive oil guide.
- Trading Post. Late-game building that needs multiple settlements to be worth running — see the Money guide for trade routes.
- University. Produces Research Papers — valuable later (especially for Mercury's quest line after the Cyclops), but not a priority on day one.
- Decorations — with a caveat. Decorations raise Building Appeal which appears to improve efficiency at the affected building (exact effect not fully tested). They don't gate upgrades, but they're not pure cosmetic clutter either.
Once you have the Logistics Tent (a Giant Owl reward as of patch 0.25.1_7), you can rearrange your entire base because chain-routing becomes automatic. Until then, place buildings as if you can never move them — because you can't drag-to-move; you have to demolish and rebuild.